How to Make a Pebble Tile Backsplash for Your Kitchen
Pebble tile is one of the coolest home design trends to hit the market in recent years. In this post, we discuss how to use them to create an easy and stunning kitchen backsplash!
But first…
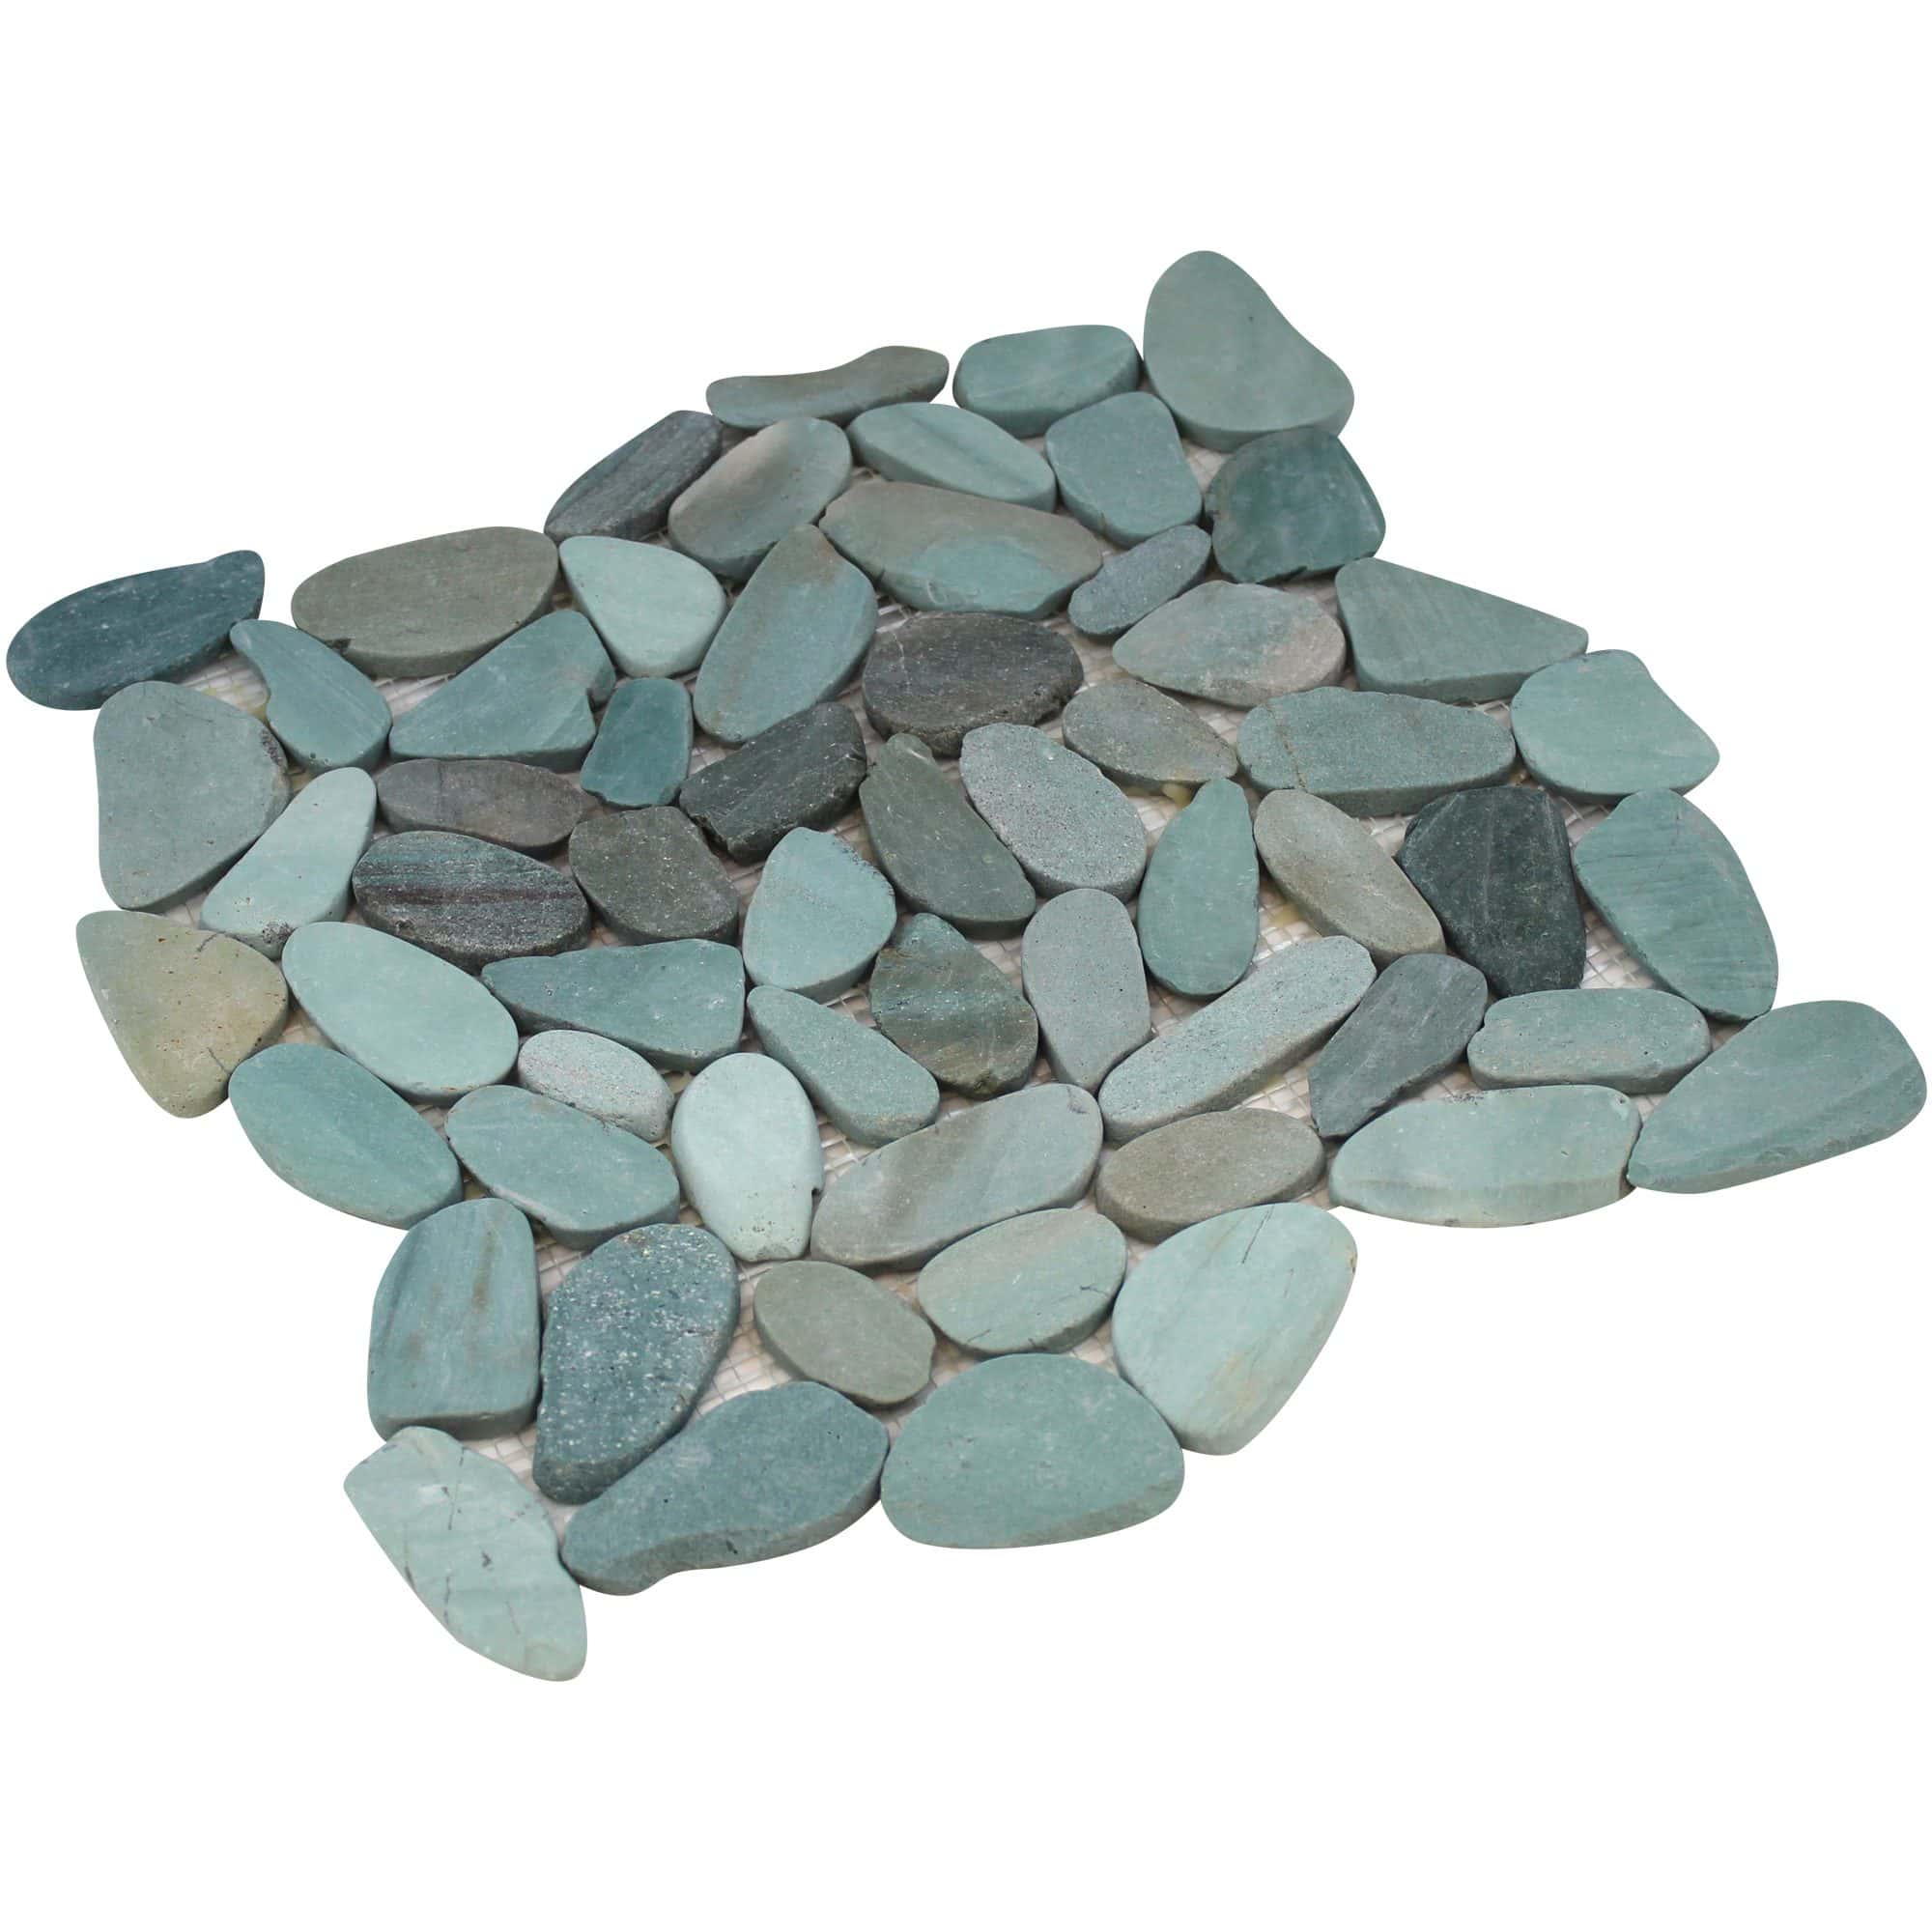
What is Pebble Tile?
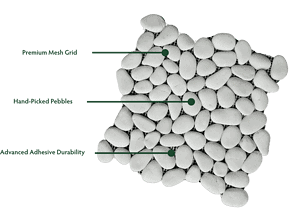
These simple mesh tiles are embedded with smooth river stones that come in all shapes and colors. The beauty of the pebble tile is how easy it is to install. With a few supplies, you can even do it yourself without calling in a professional.
Sealer is used to fortify and hold the tiles in place, while grout fills in the gaps resulting in a smooth wall with raised stones that make for a unique and natural surface.
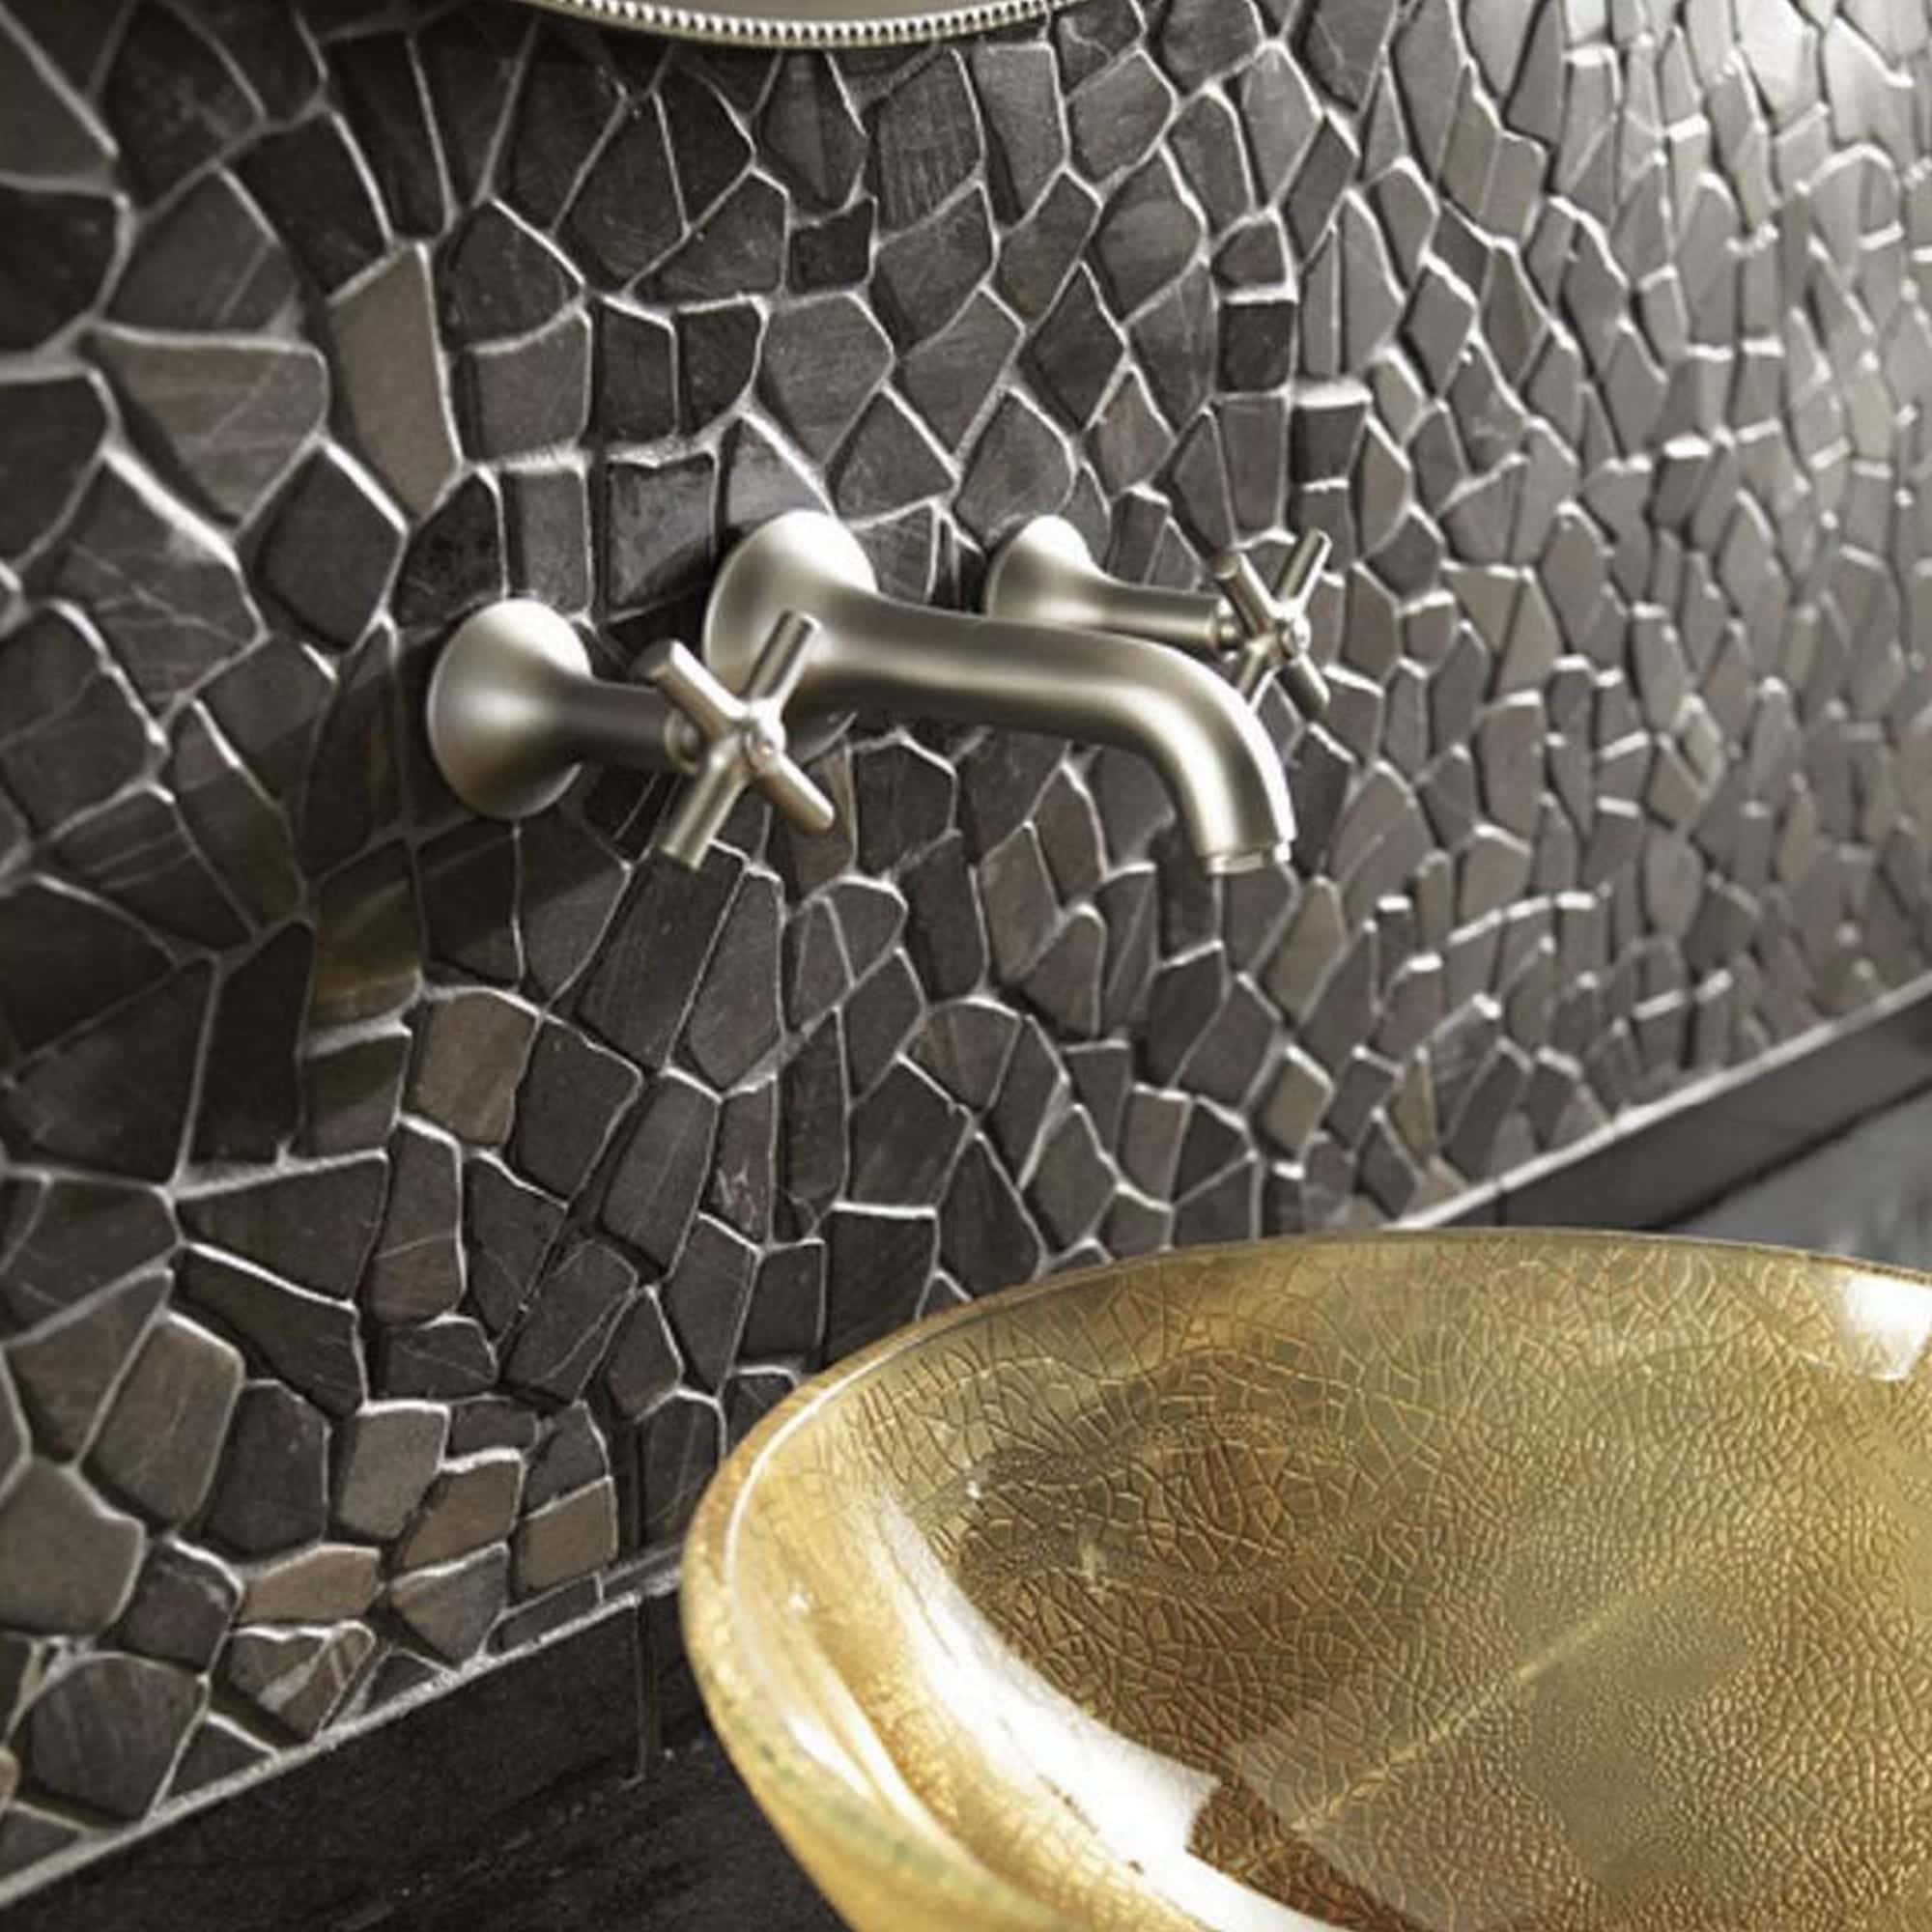
What Can Pebble Tile be Used For?
Another perk of using pebble tile is how versatile it is for indoor and outdoor projects. Here are some of our favorite ideas:
- Bathroom flooring or walls
- Indoor or outdoor shower flooring or walls
- Swimming Pool walls or deck
- Mosaics
- Backsplashes
In this post, we are focusing on how to create a lovely kitchen backsplash using pebble tiles, so let’s get to it!
DIY Kitchen Backsplash With Pebble Tiles
As mentioned, installing pebble tile is an easy, affordable, and fairly quick process. You can definitely do it yourself and save even more money.
1. Measure
To get started, measure the width of the wall area where you want to install the pebble tile. Divide that measurement in half and mark it with chalk.
Next, measure the length of the area. Mark the halfway point and then draw lines from both marked points until they intersect. This is the center of your backsplash.
2. Apply mortar
Now you’re going to mix up your thin set mortar and spread it over a span of three feet within the area, adjacent to the chalk lines.
Press the pebble tiles into the mortar, wiping away excess mortar that bubbles up around the tiles.
3. Tap, tap, tap
Take a flat wooden board and place it on top of each tile, gently tapping with a hammer to level the tiles. After you’ve done this, use a level to ensure the tiles are even.
Wipe up the excess mortar. It’s important to make sure that half the thickness of the pebbles is left clear when applying the grout.
4. Cut and shape
This is the time to cut and shape your tiles. This includes cutting the mesh around obstacles and removing pebbles that don’t fit. You want the tile to be ¼ inch of the wall.
Once satisfied, let the mortar dry for 24 hours.
5. Seal
Using a paintbrush and grout sealer, apply a coat of the sealer to the tiles, then let it rest for 24 hours.
6. Grout
Spread the grout over the tiles using a grout float, pressing it firmly between the pebbles to fill the gaps.
It’s important to wipe the excess grout off the stones within 15 minutes using a grout sponge and water.
Once the grout is completely cleaned off the stones (this should take a few rounds until only a slight haze is visible), let it dry for three hours.
Polish the stones with cheesecloth and your backsplash is finished!


Leave a Reply