
How to Make a Rock Garden for a Small Space
Homeowners with a small slice of yard often think there are not many options for them when it comes to enjoying a beautiful garden. That couldn’t be further from the truth! In fact, there are plenty of ways to make a small space stand out- all you need is a little bit of creativity.
One of our favorite small space landscaping ideas incorporates garden stones and large rocks. Stones are easy to install, affordable, and require minimal maintenance. Here’s how to make a stunning rock garden for your small space!
This is What You’ll Need
- Shovel
- Wheelbarrow
- Gloves
- Trowel
- Landscaping stones of your choice
- An assortment of medium to large rocks
- Plants of your choice
- Organic soil
Make a plan
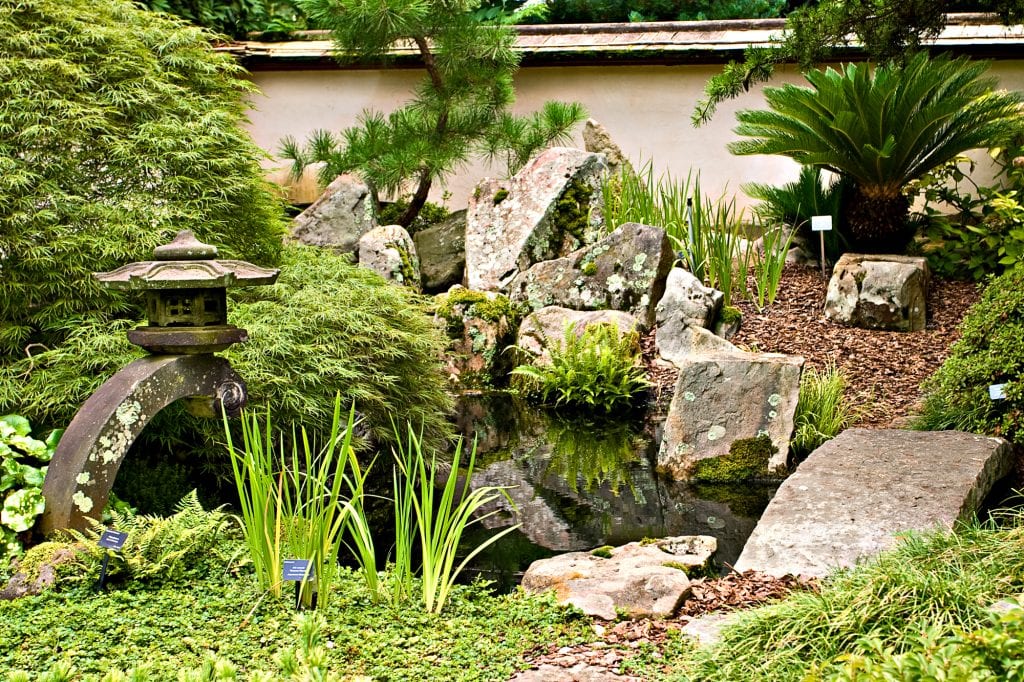
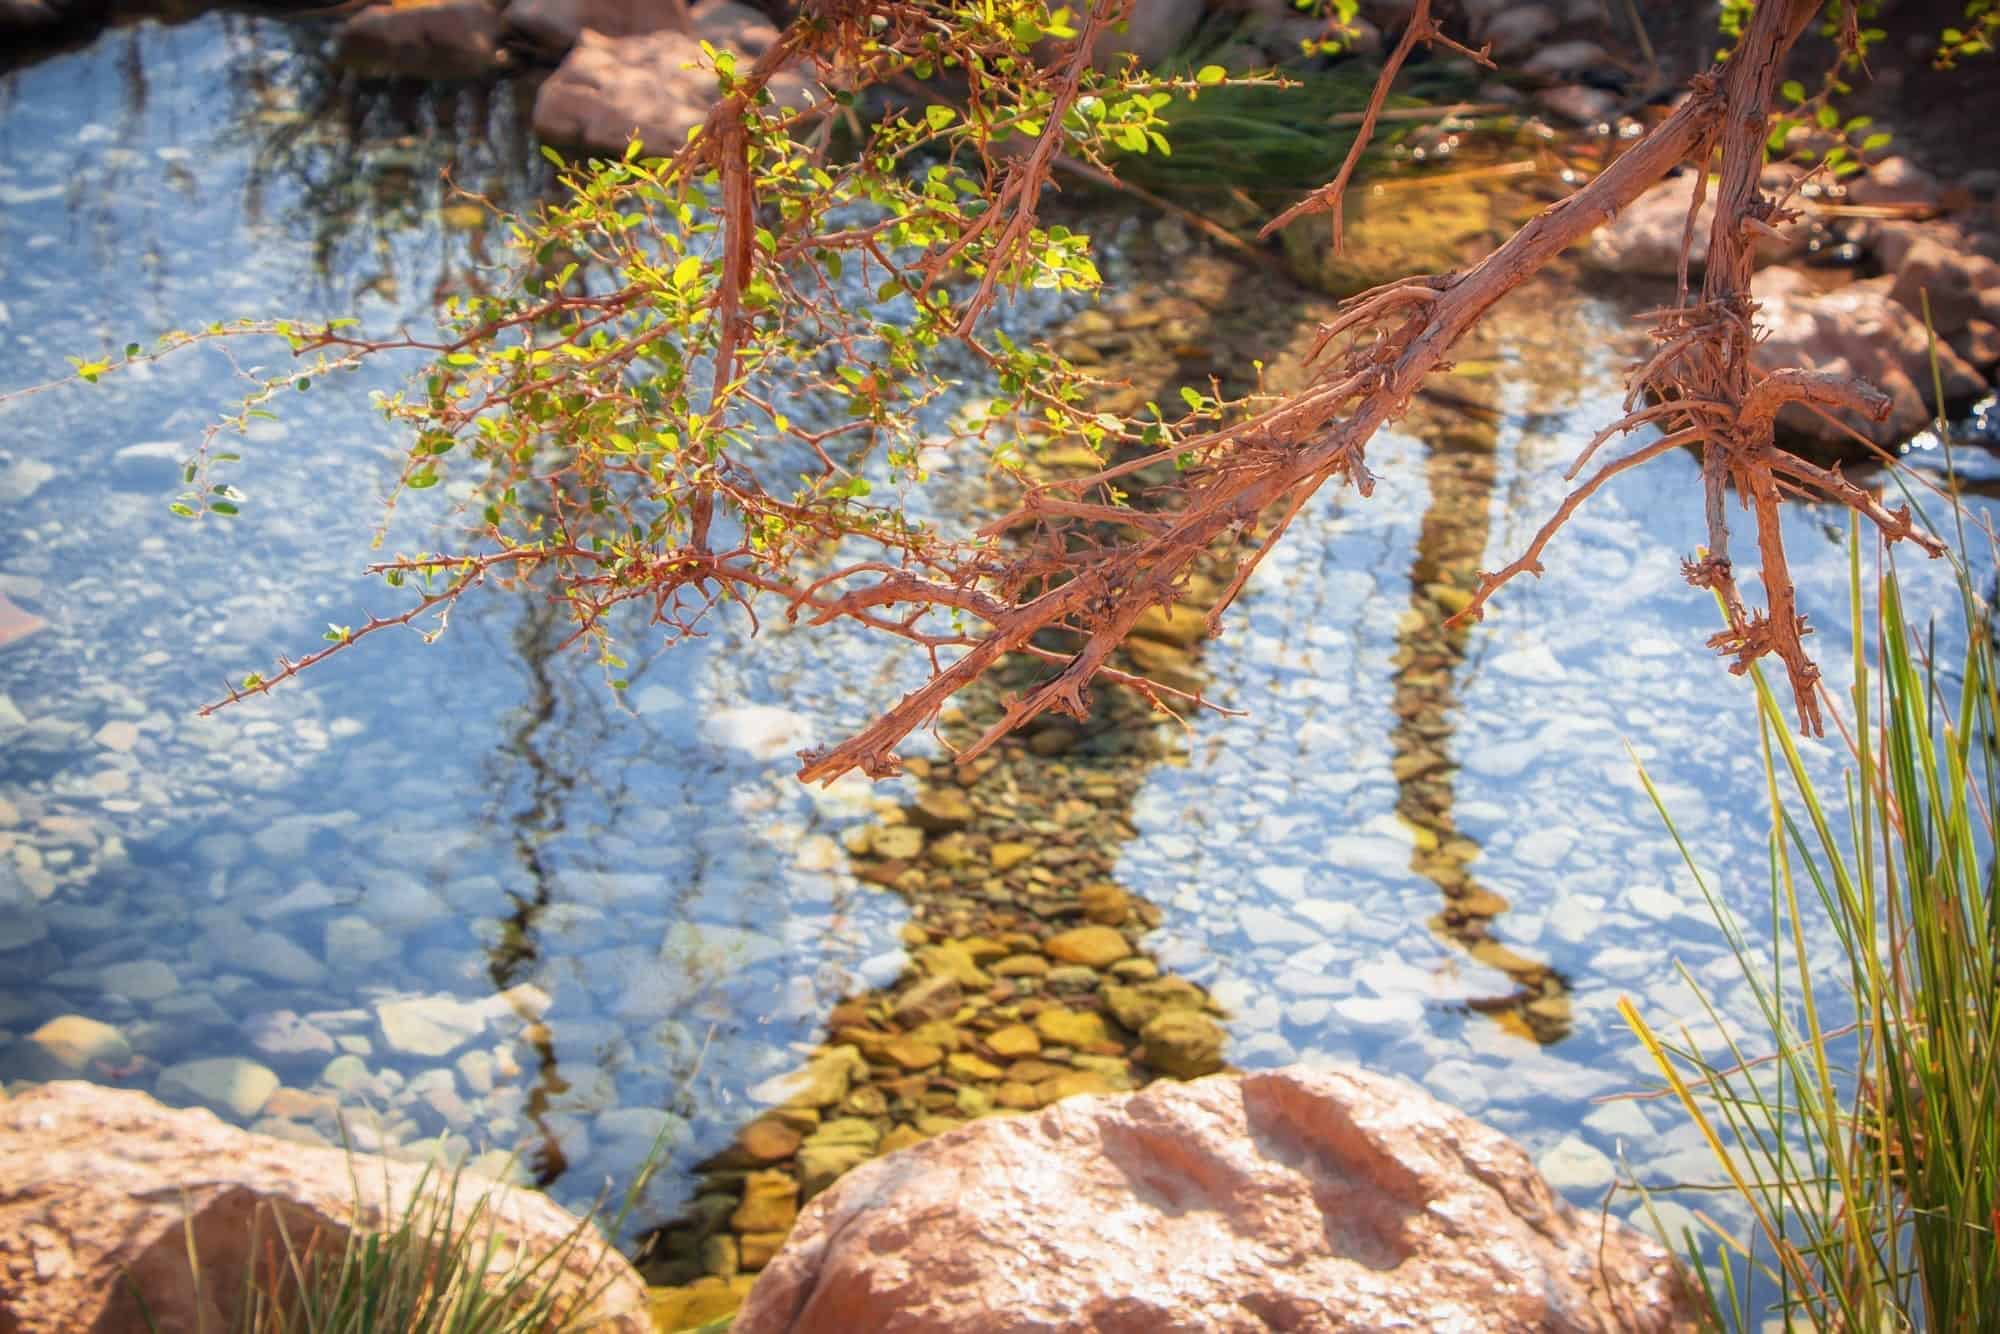
There’s no hard rule regarding how to make your rock garden. You can create a faux dried riverbed speckled with colorful garden pebbles and edged with elephant ears or build eye-catching stone mounds that give your space a unique look.
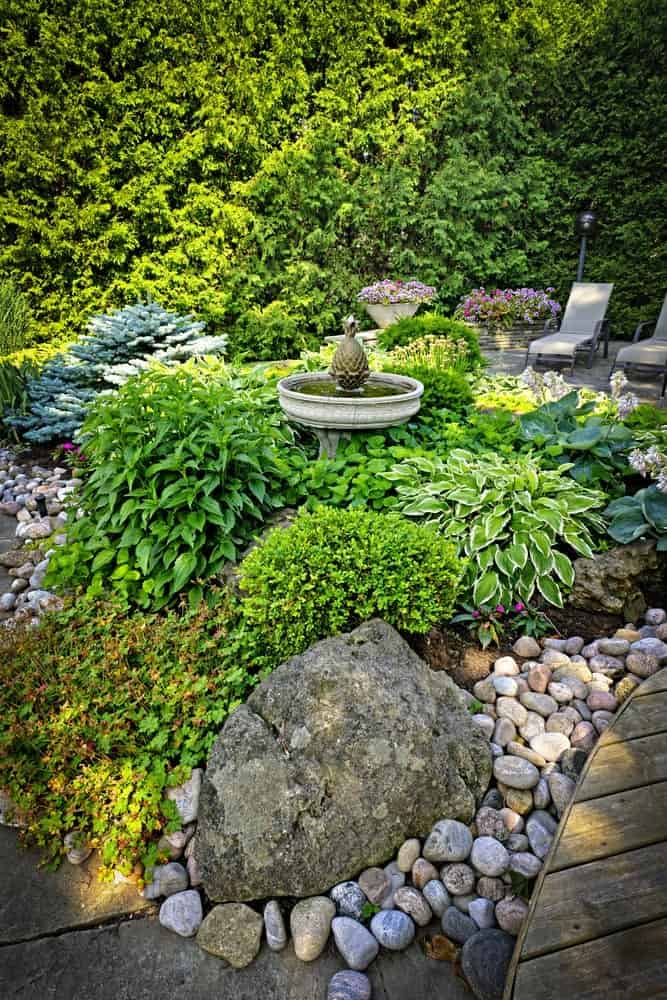
For small yards, a raised rock bed is a nice choice because it’s a versatile design that can be made with very little room and it’s easy to maintain.
Step 1: The foundation
Start by fully clearing the area of grass, weeds, and soil, digging deep enough to remove the roots of plants that might shoot up through the rocks in time.
Make a base perimeter by laying out a circle of medium-sized rocks. This is a good time to use up those “uglier” rocks, as it creates an elevated foundation.
Fill the inside of the perimeter with sandy organic soil to enhance drainage when you add our plants.
Step 2: The second layer
The objective of the second layer is to make a pebble design that allows for plenty of room when you plant between the two rock layers.
Use smooth river stones and experiment with your design. Or, don’t use them at all; just go for a raised rock bed to plant fruits and veggies.
Garden pebbles are great to use because they come in a variety of colors and patterns that look natural and stunning. This is the layer that will be most visible, so you want to show off your artistic skills here.
Step 3: Get planting
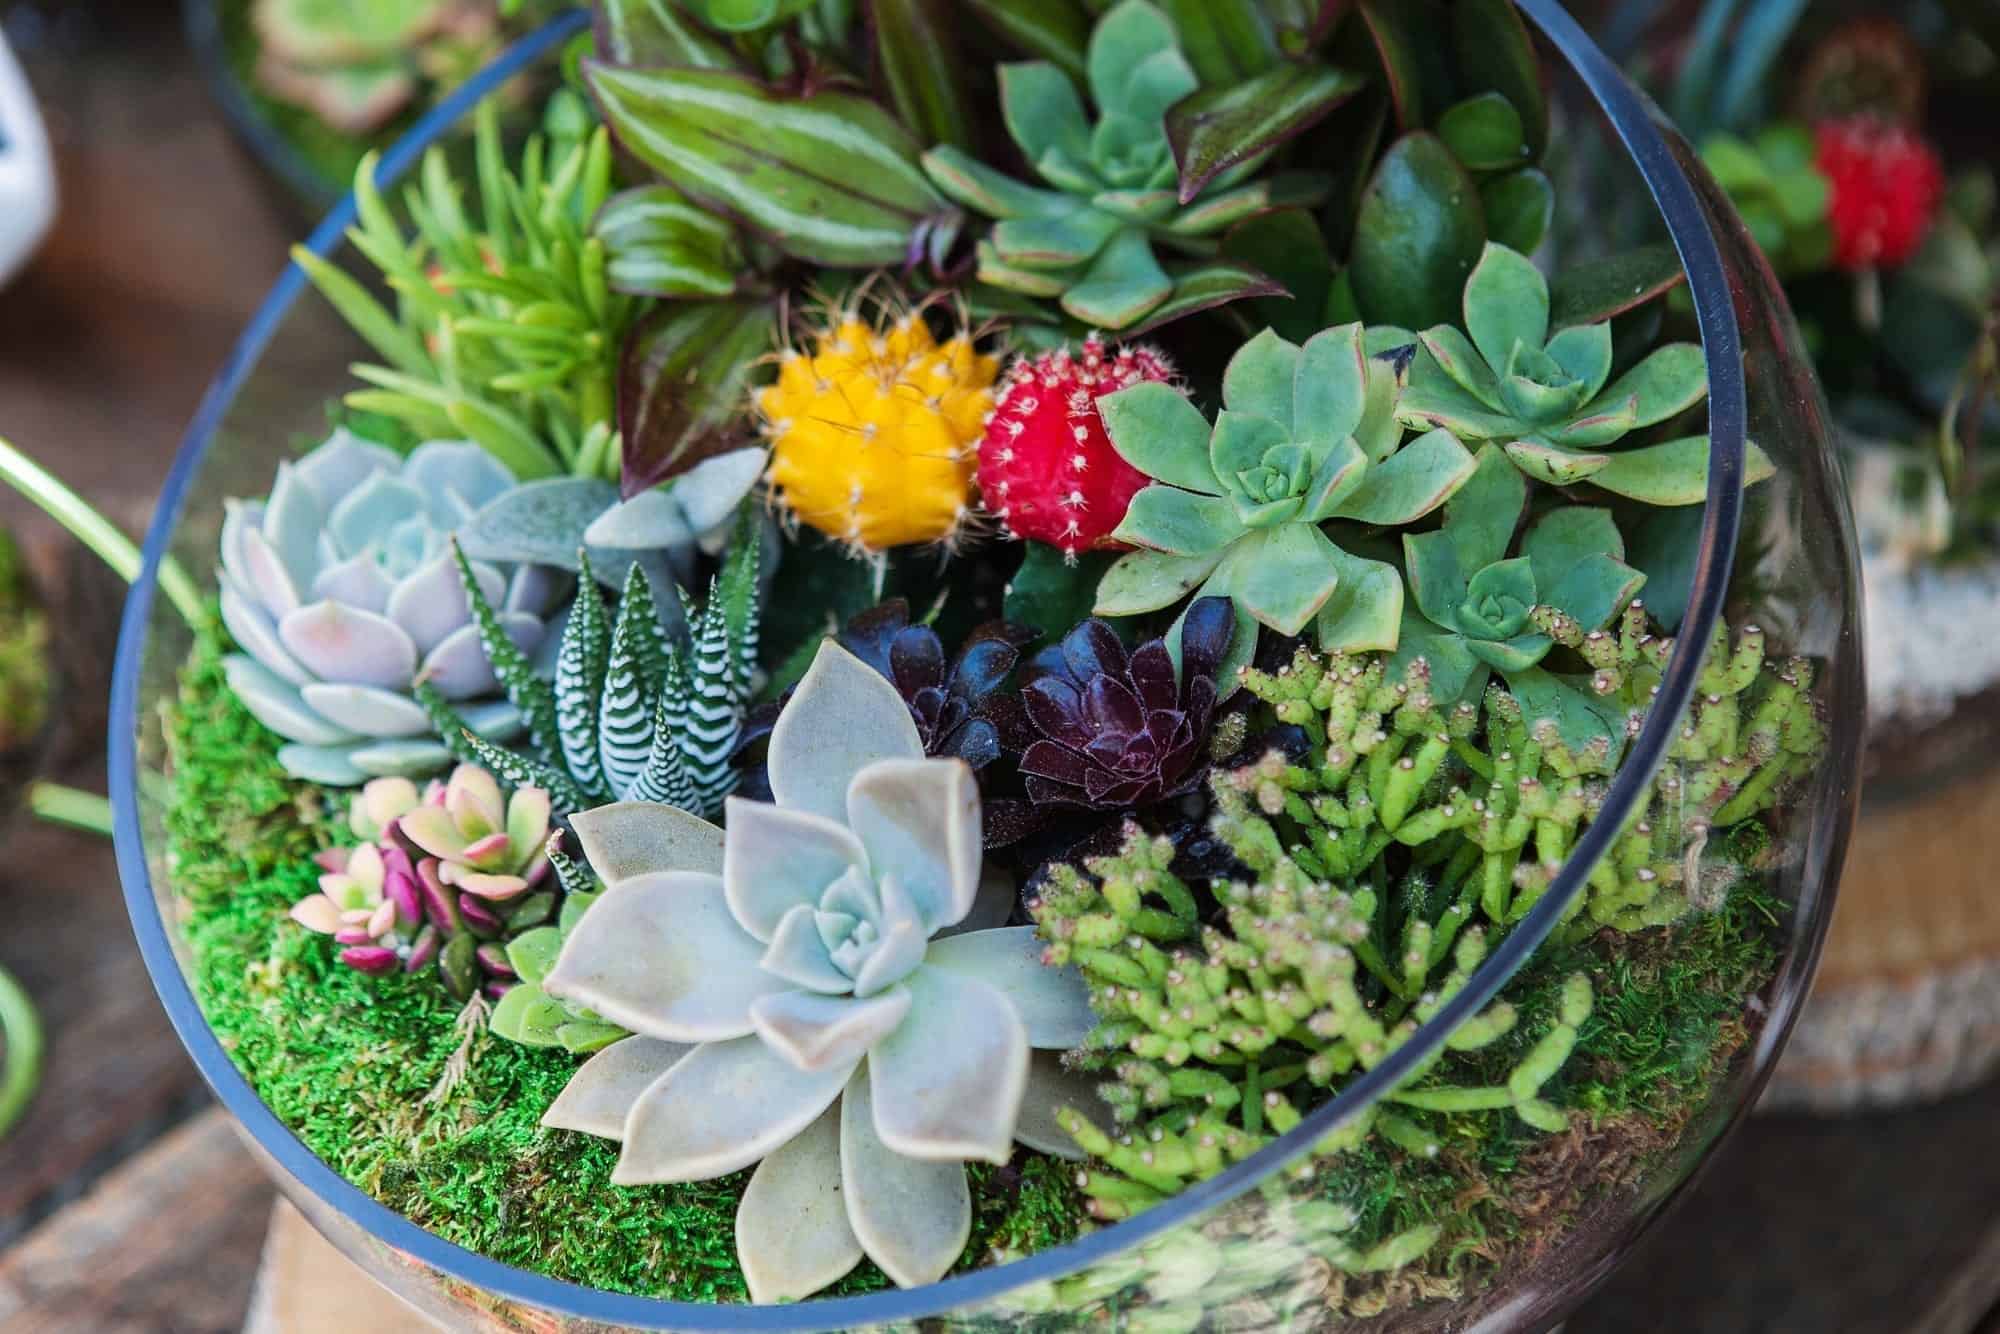
Now it’s time to get down in the dirt by planting your selection of flowers, herbs, or shrubs. Opt for varieties that drain well and have similar maintenance requirements.
A good way to work out your color scheme and design is to first arrange the plants with the rocks while they are still in their pots. Once you have a good visual of the design, you can start planting them.
Don’t be afraid to use high-quality organic mulch for added drainage and aesthetic appeal.


gate.io
Cool. I spent a long time looking for relevant content and found that your article gave me new ideas, which is very helpful for my research. I think my thesis can be completed more smoothly. Thank you.