How to Make a DIY Fire Bowl for Your Backyard Table
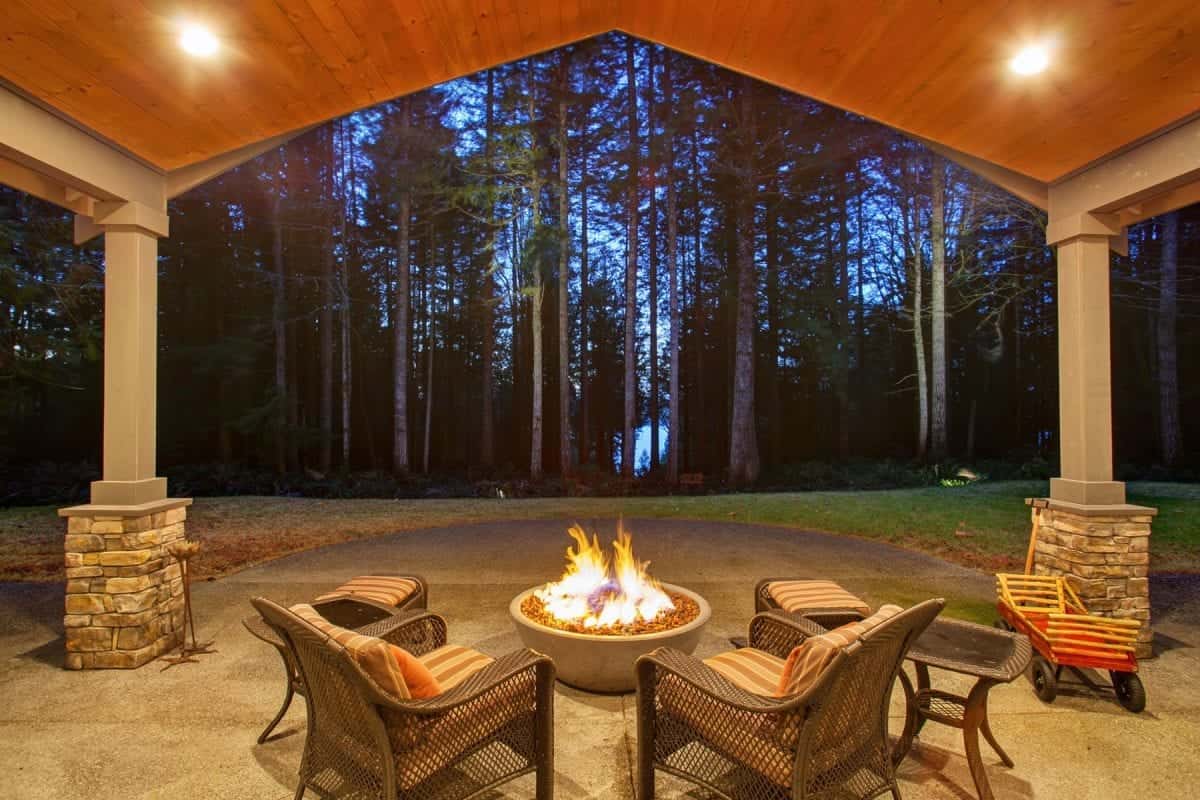
Firepits have evolved from a pile of burning wood logs on dirt to beautiful gas-powered designs that can seamlessly match with any exterior decor.
Firepit accessories, such as fuel gel, fire glass, lava rocks, and river pebbles complete the transformation from drab flames into a hypnotic show of dancing flames.
Now, you don’t even need a mechanical gas firepit to enjoy a glowing ember on a nice evening. You can make a tabletop fire bowl yourself!
Compact fire bowls only require fuel gel and a few other materials for a fast “pop-up” fire that burns for up to six hours.
Here’s What You’ll Need
- A large, sturdy concrete bowl (10-12 inches)
- Construction wire mesh
- A can of fuel gel
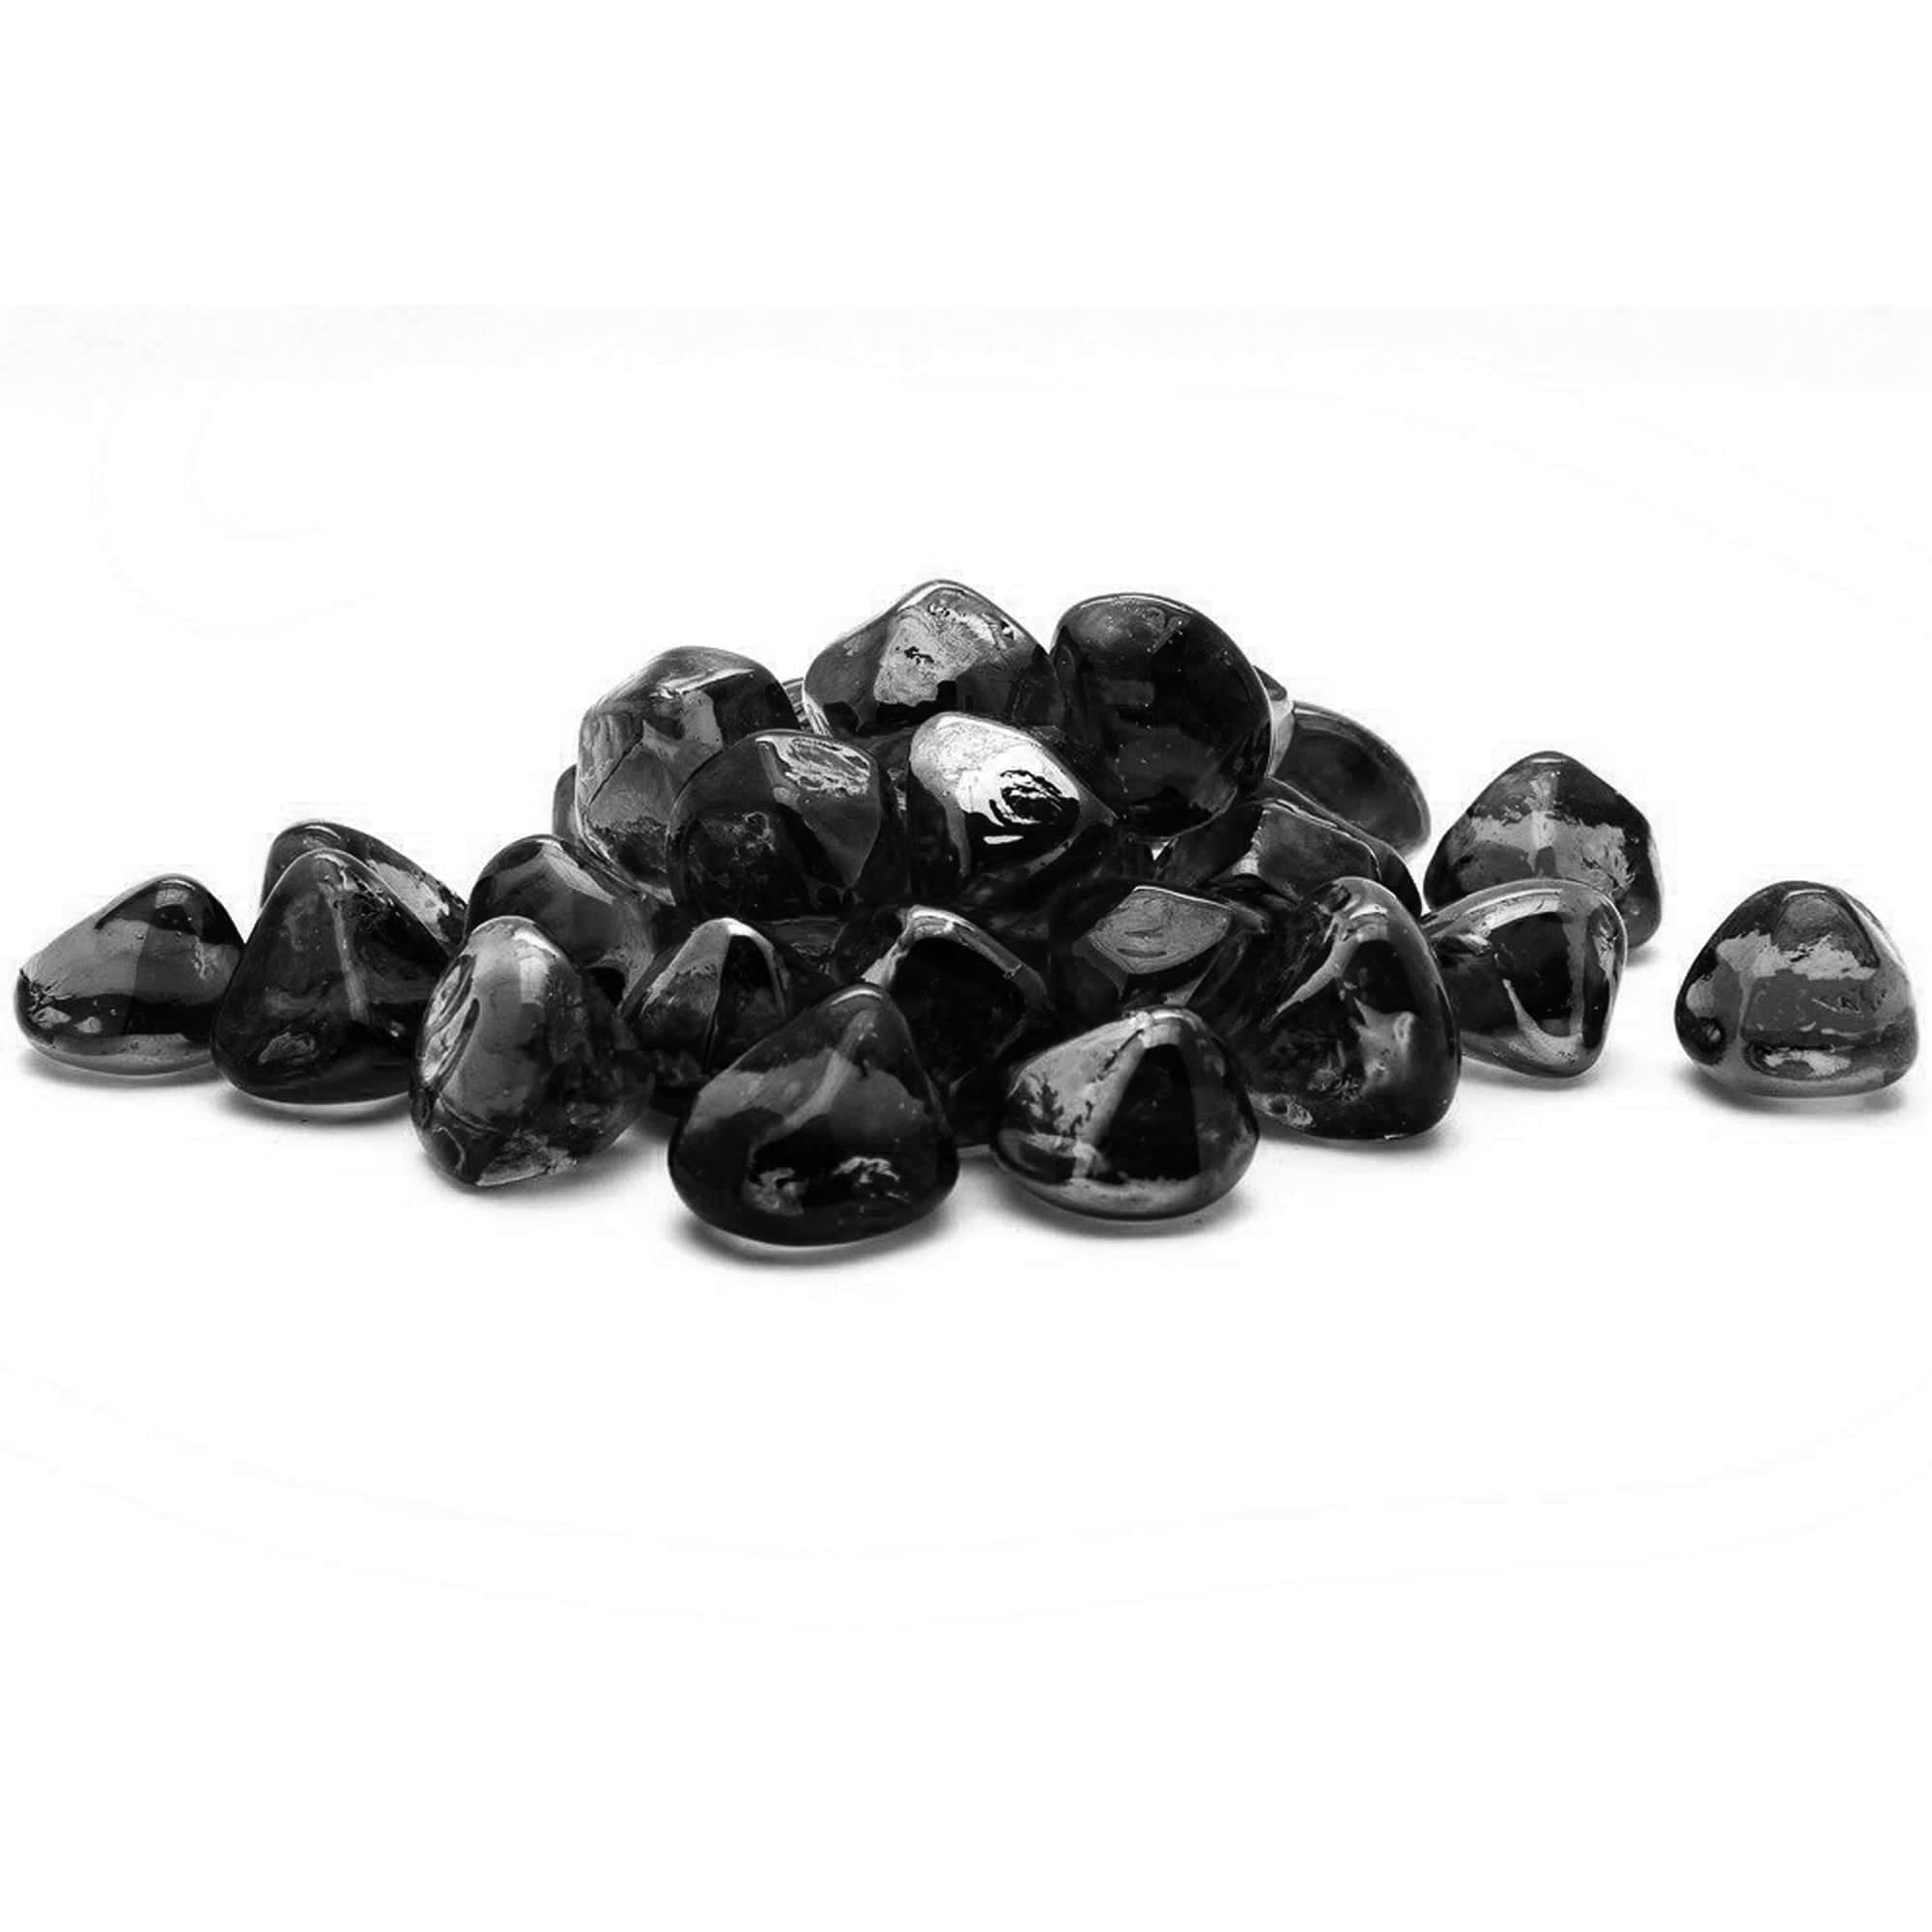
- Fire glass, landscaping stones, or lava rock of your choice
How to Make a Fire Bowl
Most of the items needed for this project can be found at your local garden products store.
1. Prepare your bowl
There are no hard rules for the type of bowl to use. Of course, you’re not going to use plastic! You will want to double-check that the bowl is fireproof by inquiring at your hardware store. Some examples of fireproof materials are ceramic or concrete. You can even make your own concrete bowl at home.
2. Place the can of gel fuel
Gel fuel is inexpensive and should burn for a good six hours– perfect for an evening with friends in the backyard. Place the can of gel fuel in the middle of the bowl and remove the lid from the can.
3. Add wire mesh
Place the sheet of wire mesh on top of the can, using your tin snips to cut off excess mesh so that you can bend it to fit inside the bowl. It needs to be able to hold the fire glass or river stones, so fold up the sides so that they are secure against the bowl.
4. Cover the mesh with fire glass or river stones
Pour your fire glass or stones over the top of the mesh. You want to apply a thin layer that just covers the mesh. Make sure to leave the center open where the gel fuel can is situated, so that the flames have proper airflow.
5. Light er’ up!
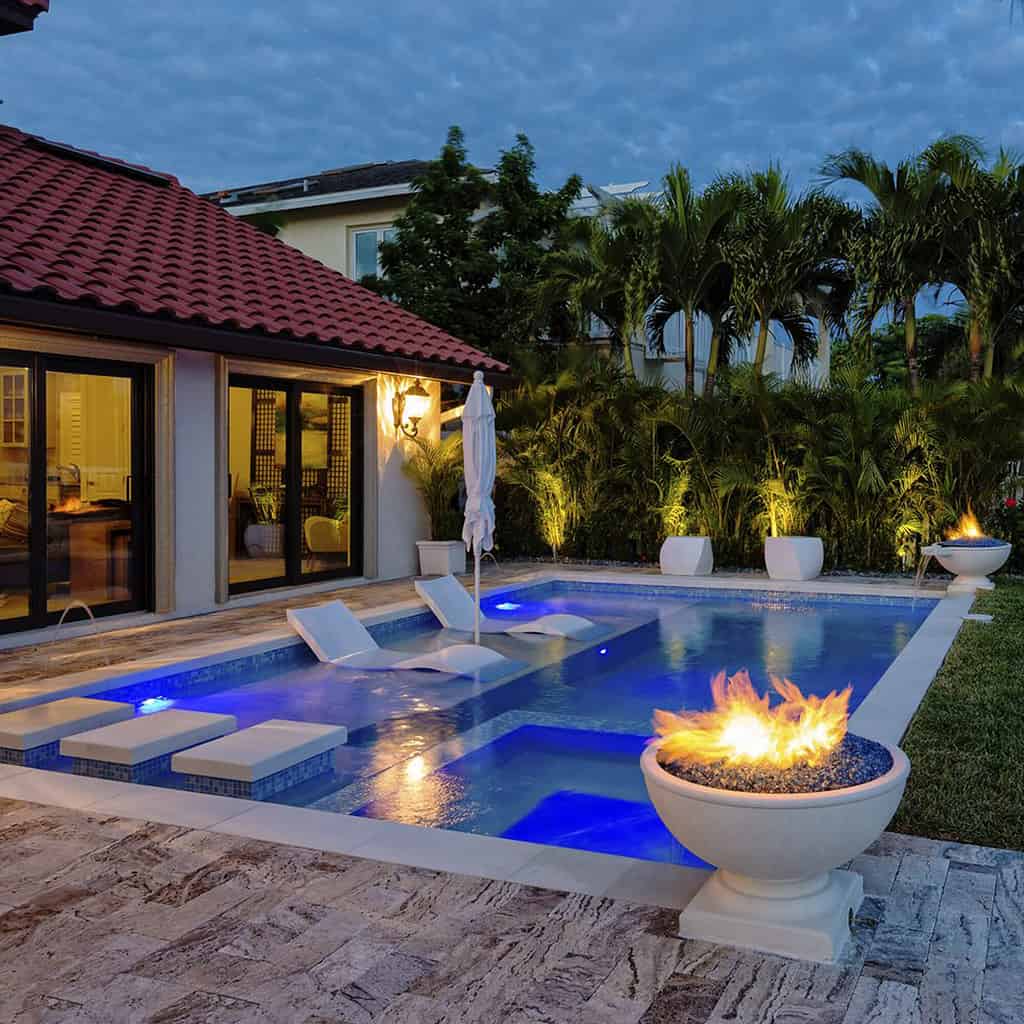
That’s it, you’re ready to burn the bowl! Place it on top of a table to create a stunning centerpiece or use it to accent a garden pond or swimming pool. The possibilities are endless with this compact, portable fire bowl!


umee
Reading your article helped me a lot and I agree with you. But I still have some doubts, can you clarify for me? I’ll keep an eye out for your answers.