4 Tips for Installing Pebble Tile Flooring Like a Pro
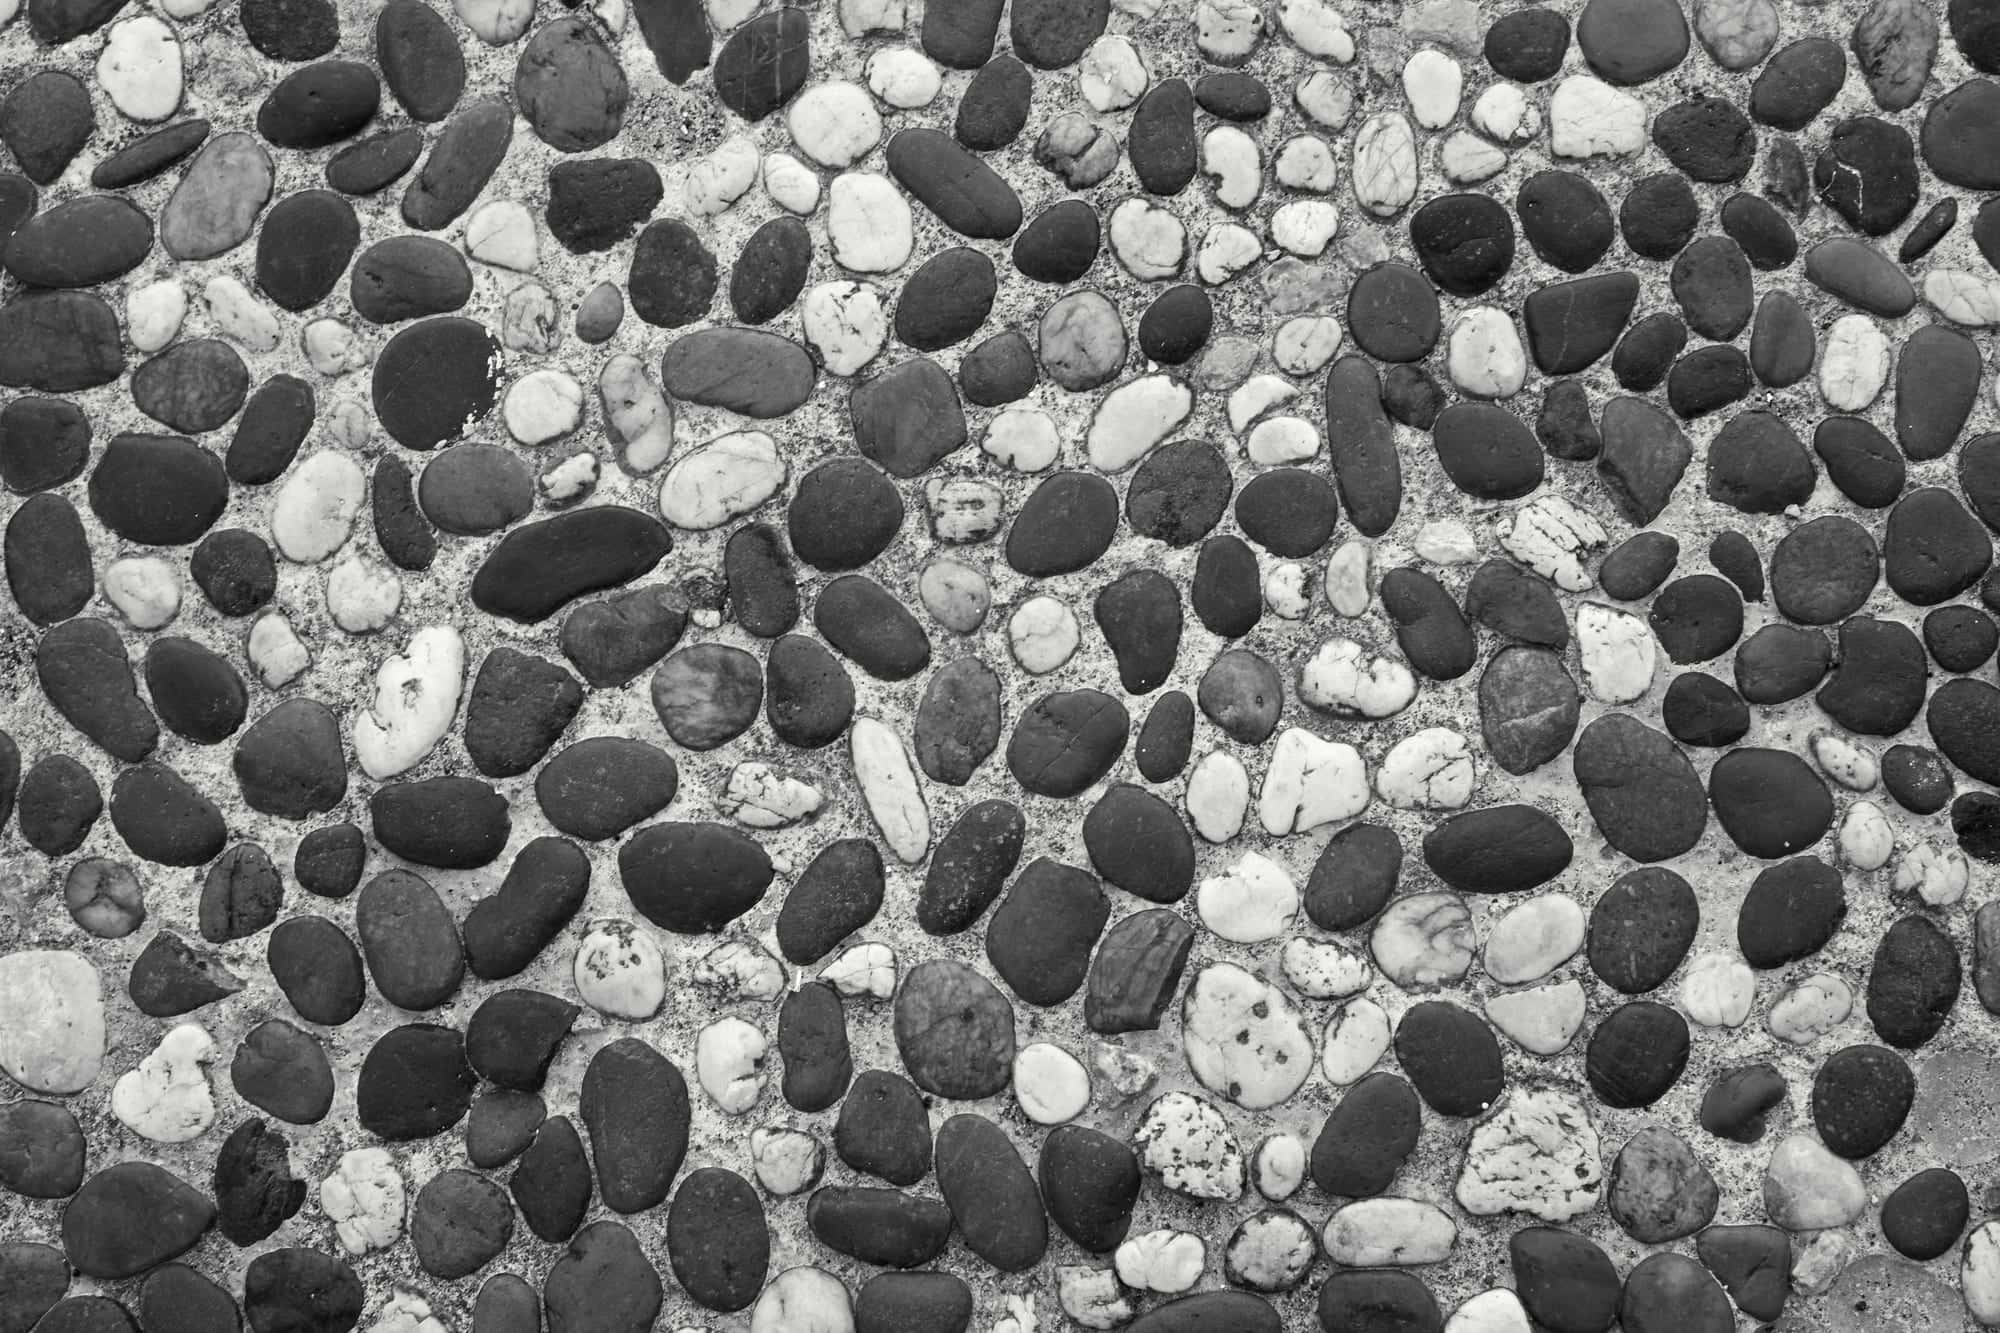
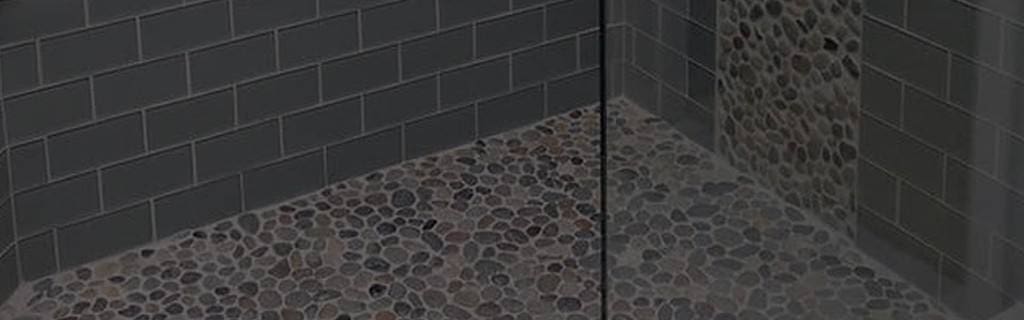
Pebble tile floors are gaining momentum as a minimalistic interior and exterior decorative trend across the country.
Besides the fact that it looks striking, natural stone tiles are also relatively low cost compared to other shower floor tile options. You can even install it on your own (of course, always call a professional or pebble tile shop if you have doubts) without heavy-duty equipment or technical skills.
If you’re thinking about installing pebble shower tiles in your bathroom, outdoors, or in the garden and you want to turn it into your very own DIY project, there are a few tips and tricks to make the process smoother.
Let’s get right into it, shall we?
1. Laying the Thinset
Thinset is the layer of adhesive that will help tiles stick to the floor underneath. Using a trowel, slather on a layer of Thinset that is no more than ⅛” in thickness.
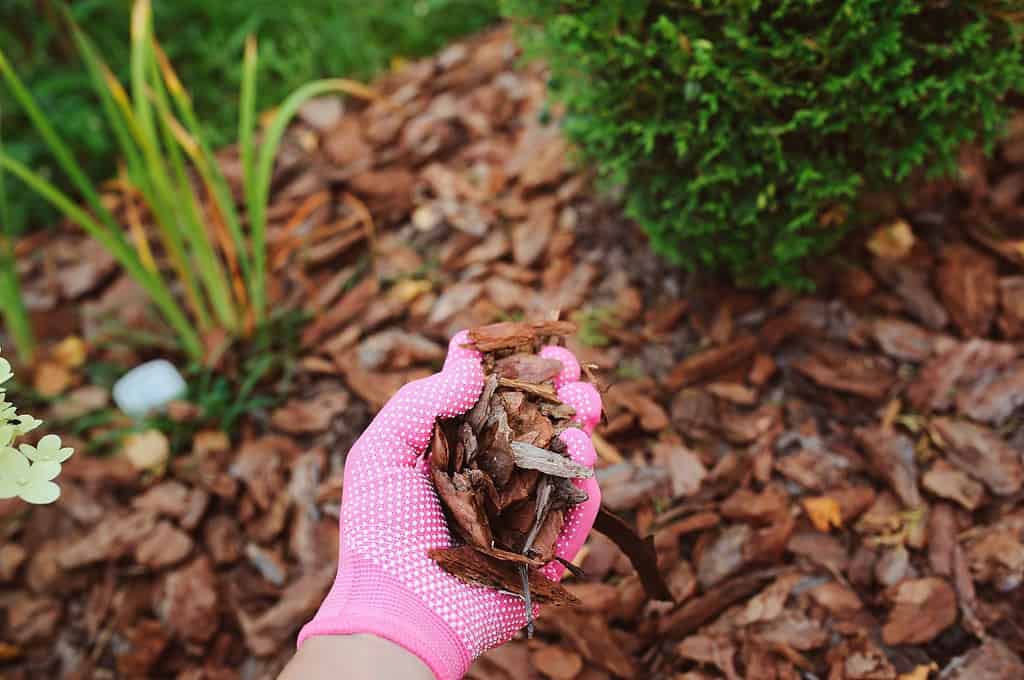
2. How to install pebble tile
Next, gently lay each pebble tile down on top of the Thinset, positioning them so that the sides match up and the edges interlock.
Pro Tip: If you want to make sure that the seams don’t show after installation, instead of interlocking the pebble tiles, leave a thin space between each tile- just enough to place loose pebbles in between. This will erase any visible seams.
3. Fix the gaps
After laying down the tiles, are there visible gaps that need to be filled? You’re probably thinking it’s time to learn how to cut pebble tile. That’s not the case! If you cut pebble stone shower tiles, it creates an uneven appearance. Instead, collect loose pebbles from spare tiles and use them to quickly and easily fill in any gaps.
4. How to grout pebble tile floor
Before getting out the grout for your freshly laid pebble floor tiles, apply a layer of sealant. This will help make it easier to clean grout off the pebble tiles so they don’t absorb the grout color.
Now, mix your grout to the desired consistency, and starting from the corner of the floor, spread it evenly on top of the pebble tiles. Be generous here, and make sure to really pack it in between the pebbles.
Pro Tip: Avoid urethane grouts and opt for standard cement or high-performance types. Just be careful and closely monitor high performance, because they tend to set quickly.
Let the grout set for 20 minutes, then use a damp sponge to wipe the area several times until the excess grout is gone and the pebbles are completely clean. Let it sit for 24 hrs, then apply your final coat of sealant.


6 Comments
-
Ward
Heya i’m for the primary time here. I came across this board and I find It
really useful & it helped me out much. I am hoping to give one thing back and
aid others like you helped me. -
vancat token
Very nice post. I just stumbled upon your blog and wanted to say that I’ve really enjoyed browsing your blog posts. In any case I’ll be subscribing to your feed and I hope you write again soon!
-
gate.io
I have read your article carefully and I agree with you very much. This has provided a great help for my thesis writing, and I will seriously improve it. However, I don’t know much about a certain place. Can you help me?
-
keywords
I’m not sure where you are getting your info, but great topic.
I needs to spend some time learning much more or understanding more.Thanks for excellent info I was looking for this information for my mission.
-
Binance účet
Can you be more specific about the content of your article? After reading it, I still have some doubts. Hope you can help me.

Joanna
If some one wants to be updated with most recent technologies therefore
he must be pay a quick visit this web page and be up to date every day.